


So you decided to leave the corporate world and create your own coaching business, and now your LinkedIn profile is sitting around with cobwebs in a wasteland. You might be thinking, “well I’m not applying for jobs so what the heck do I need a LinkedIn profile for now?”
One of the most common paths to connecting with your ideal clients is through your network. And LinkedIn is an easy place to both stay in touch with your network, and communicate what you are doing. It is also a great source of social proof and credibility. Your potential clients can review your LinkedIn page and in a few minutes see where you’ve worked, who has endorsed and recommended you on your page, and any posts you’ve shared. It adds an extra layer of credibility to support your online presence, and provides a place where you can connect with a wider audience.
Let’s talk about getting it set up correctly, to best represent you as a professional coach. Here are a few easy steps to update your profile from its outdated cringey state, to a page that accurately represents you and your business.
You do not need to be ready for an advanced LinkedIn strategy to check off these quick wins. This is the fast route to a more professional and welcoming, online presence.
It’s free, it’s easy, and should be a no-brainer for any coach. So let’s start checking off these quick wins shall we?
1. Claim Your Custom URL
It’s super easy to spot someone who hasn’t claimed their custom URL. When they put the link to their LinkedIn profile in an email, it looks something like this:
https://www.linkedin.com/in/john-smith-35c4a720/
Oh boy. This is the version that randomly gets assigned to you if you don’t decide to customize your url. In this default version, there are a bunch of letters and numbers attached to your name. Therefore it ends up looking like a messy license plate. However, that doesn’t need to be the case. LinkedIn lets you claim a custom URL for free. By doing this you get a clean link that’s easy to share and looks much more professional.
That same “John Smith” can make his link something more like:
https://www.linkedin.com/in/johnsmith
or, https://www.linkedin.com/in/johnhsmith
or https://www.linkedin.com/in/johnsmithcoach
To claim your custom URL, follow these steps:
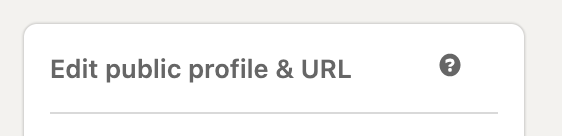
Click “Edit public profile & URL”
Login to your account, and look at the top right corner of your profile page. You’ll see the words “edit public profile & URL”, click there.
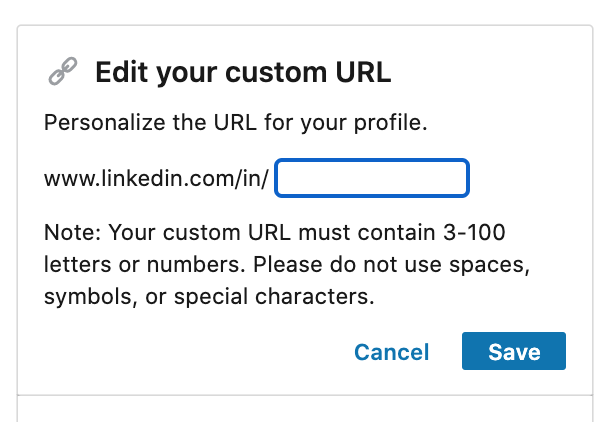
Type in a custom URL
Typically you’ll want to use your name. If your name is already taken, you can easily test out a few variations. You can use a middle initial, add an extra word, use punctuation, etc. Then hit save and you are good to go.
Tip: LinkedIn limits you to using letters and numbers in your custom URL, however you can use a dash (-).
2. Cover Photo & Profile Photo
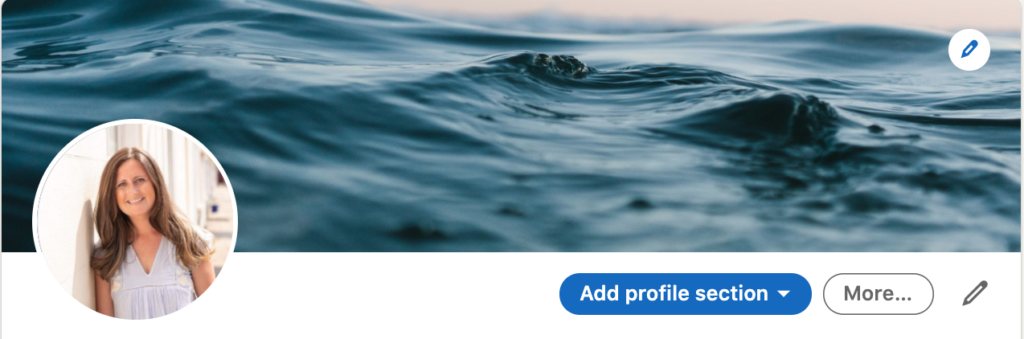
An easy win to making your profile look more complete is to add a profile photo and cover photo. The cover photo is the big horizontal photo that goes across the screen (the ocean photo in the sample below). The profile photo is the circle image of your face.
Most people do manage to post a profile photo, but if you’ve let your LinkedIn just sit there for a while you might have missed the update where everyone added a cover photo.
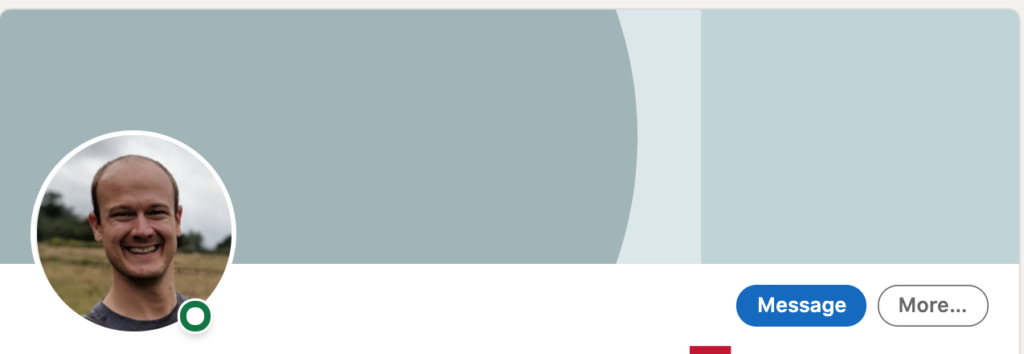
If you don’t upload a cover photo, LinkedIn gives you a default placeholder image (see above) and it’s basically waving a flag to everyone that says “hey I don’t use LinkedIn I’m not up to date!” to have this placeholder there instead of your own image. It takes two seconds to add an image as your cover photo, and really updates your page.
To claim your custom URL, follow these steps:
Click Edit
Go to your profile page, and click the pencil icon under the header image.
Upload Photos
Follow the prompts to upload both a cover photo and profile photo.
Click save and go back to your profile and see how fresh it looks.
3. Get to 500 Connections
Once you get to 500 connections on LinkedIn, your profile switches from saying the literal number of connections you have and instead defaults to 500+. Regardless of whether you have 1000 connections or 501, once you have at least 500 connections your profile shows the same thing: 500+.
There used to be a lot of hype of the legendary 500 connections, equating getting to 500 connections as a holy grail to success on LinkedIn. And then that was followed by a bunch of bloggers commenting with backlash saying that’s a farce and doesn’t mean anything except your vanity. Okay, sure.
However, that 500 number does represent a certain amount of keeping up to date with your network, and I’d argue is a good metric to check off. Anyone should be able to get to this number, when you think about the number of people you’ve met, gone to school with, worked with, hired, friends… 500 is absolutely within reach.
When a coach that I mentor has a profile with a random number of connections, say 124 connections, or 352 connections, it just means they haven’t kept up to date with connecting with people in their network. And in owning your own business, capitalizing on connecting with the network you already have is such an easy win. Not connecting with all the people you’ve already met is really leaving a lot of potential clients and referrals on the table. Let’s not do that!
Use the search bar to type in names of people you know in order to connect them, or you can click the “My Network” button and scroll through the suggested profiles of people LinkedIn’s algorithm things you might know and add people there. Make getting that 500 a game and make it happen.
4. Collect Endorsements
Go to your profile page and add skills you want to be known for. You can search for common phrases and add them from the drop down, or you can add your own custom skill and add it. Then once they are on your page, you can ask people you know to “endorse” you for that skill, and anyone who visits your page can decide on their own to “endorse” you. This is an easy way to list out the skills you want to be known for. It takes time to accumulate endorsements, so starting sooner rather than later will help you build up your numbers on the skills you want to be endorsed for.
Hey while you are at it, head on over to my LinkedIn and endorse me. I’d happily be your test profile to see what hitting the endorse button does. (Shameless plug.)
5. Collect Recommendations
Go to your profile and scroll down to the Recommendations section, and click “Ask for a recommendation” and you’ll have the option to select the connection you want to ask to write you a recommendation. You can type a custom message that gets sent along with the request.
The types of people that are great for recommendations are former clients, colleagues, former co-workers, and partners you’ve done business with. People are generally very happy to do this, and it adds a lot of social proof to your page. Similiar to Endorsements, Recommendations can take a while to build up, so it’s great to get started and slowly start to build this section of your profile.
And, a great place to get in the practice of requesting recommendations is your clients. You can make it a part of your completion process with clients to reach out and invite them to leave a recommendation on your LinkedIn page to help future clients see what it’s like to work with you.
Take these 5 quick tips on over to LinkedIn and brush those cobwebs off your profile!

